I recently heard a story that happened to a good friend and it compelled me to write this article. My friend was doing a dive on his CCR and everything went flawlessly on the dive. I wish I could say that the story ended there, because I would have not spent the time putting together this article, but it doesn’t. When he got back to deco and was sitting at 20’, he could not get his PO2 above 0.9. Even doing multiple oxygen flushes did nothing to help the problem.
For non-rebreather divers, performing an O2 flush involves venting all of the gas in the breathing loop, and holding down the oxygen addition button to re-fill the loop with pure O2. When you’re sitting at 20’, performing an O2 flush should spike the PO2 output up to 1.6, but here he was stuck with a reading of 0.9. This could have been caused by a number of things, the most likely being either bad oxygen cells, or something like gas contamination.
During rebreather training we’re taught “when in doubt, bail out” and I’m glad to say that my friend bailed out to open circuit, finished his decompression and his story has a happy ending. During the post-dive analysis of his gear he identified the cause of the problem; in his haste to set up, he never analyzed the oxygen supply for his rebreather, and what was supposed to be pure O2 was in reality only 50% nitrox.
While forgetting to analyze his gas was a non-event for this friend, I knew two other people that were not so lucky due to cylinder marking and gas analysis, and two that were just wrong.
Bobby
It was the summer of 1995, and the Technical Diving Revolution was in full swing when Bobby McGuire drowned. Although I only met him once or twice, by all accounts he was a heck of a diver and a heck of a nice guy too.
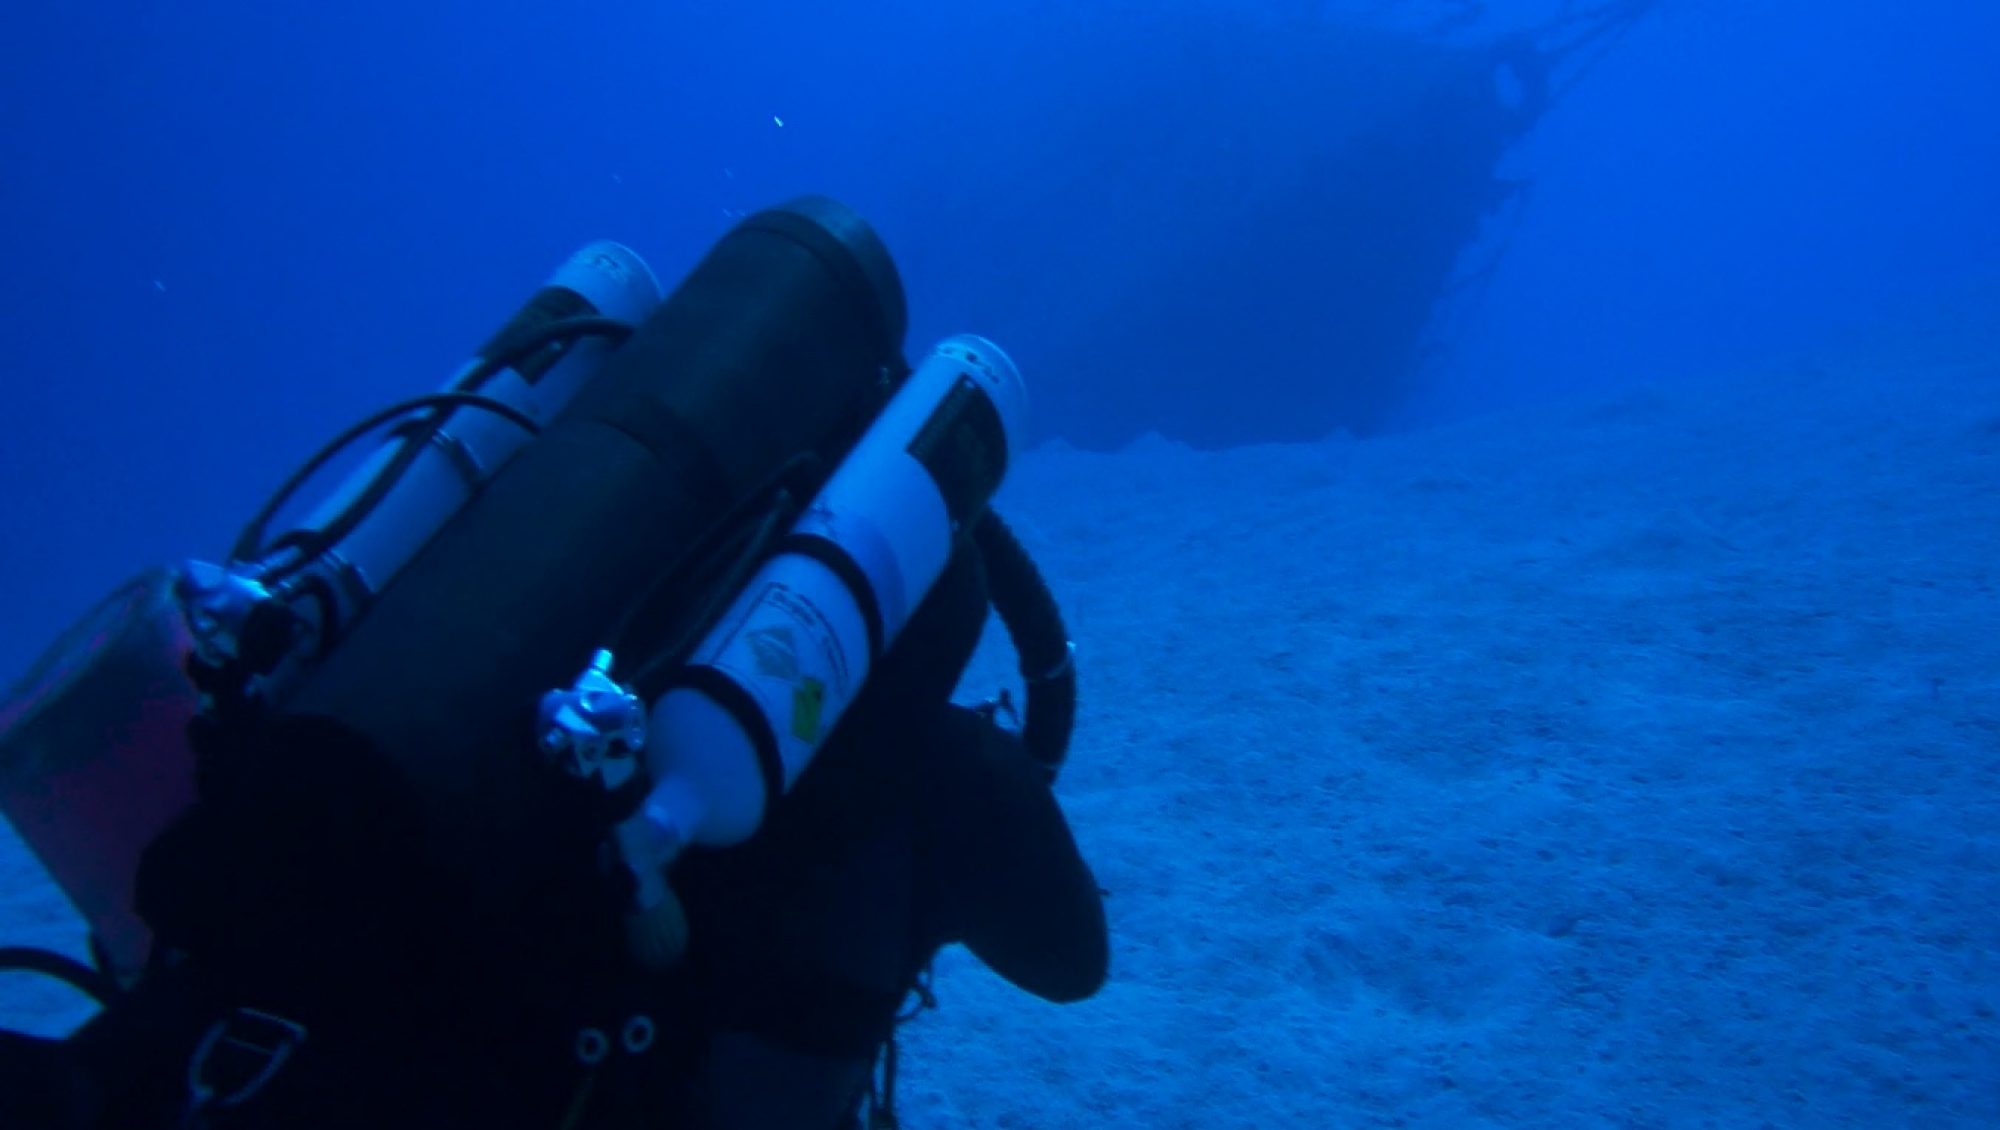
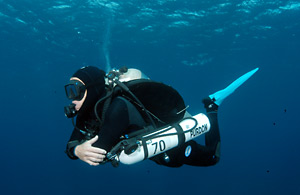
He was doing a 150’ deep cave dive, and his dive plan called for using a stage bottle filled with 25% nitrox on the bottom, and a stage bottle of 50% nitrox for decompression from 70’ to 20’. Stage bottles are an additional aluminum 80 cylinder with a working first stage, second stage, and pressure gauge, that is carried by the diver to provide additional breathing gas. Typically, the bottles are carried underneath a divers body. Frequently, divers will put different breathing gas, such as oxygen or 50% nitrox, in a stage bottle to speed up decompression.
Because he planned to use one bottle at one point of the dive, and the other at another point in the dive, he labeled the stage bottles “1” and “2”.
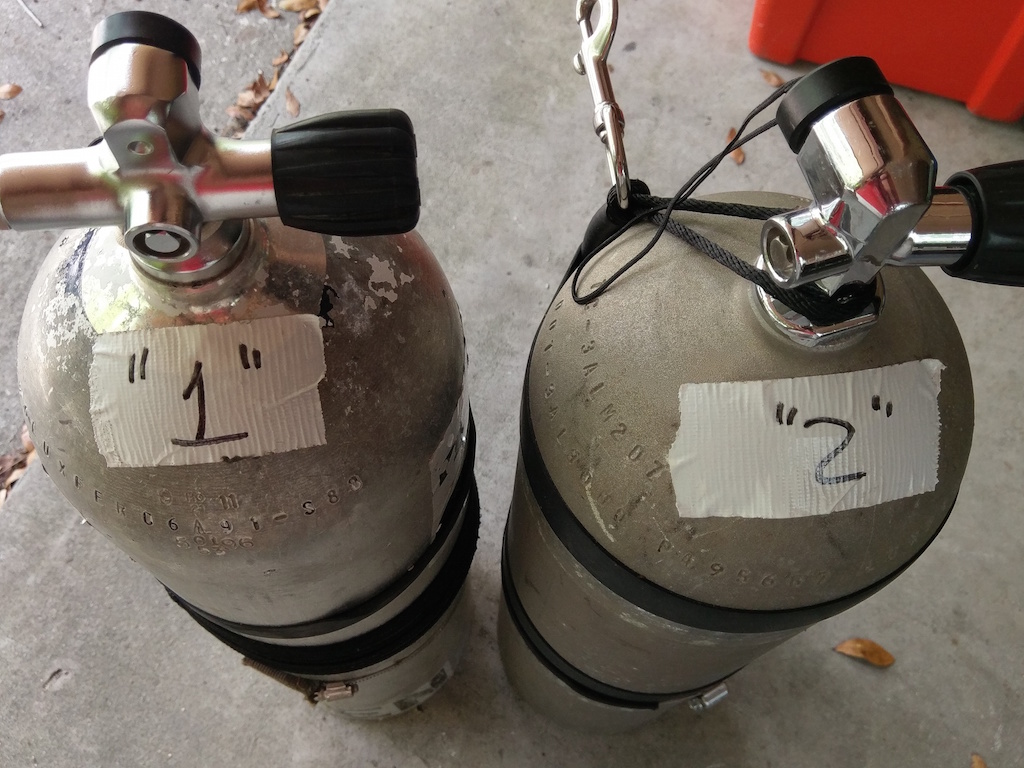
During the dive, Bobby picked the wrong bottle to breathe from and he breathed 50% nitrox at 150’. Being under 5.5 ATA of pressure, this gave him a PO2 of almost 2.8 – double the recommended maximum recreational limit of 1.4! At some point during the ascent, Bobby suffered a grand mal seizure from CNS oxygen toxicity, and because he spit out his regulator during the seizure, he drowned.
What should Bobby have done differently?
Although I do not know for sure what Bobby was thinking when he labeled his tanks, my best guess is that he marked them the way he did because he would use cylinder “1” on the first portion of the dive and “2” on the second portion.
As hard to believe as this incident sounds, back in the early 90s, tank labelling and marking were not universally standardized and the reasoning that led to his tanks being labeled this way is understandable given the accepted norms at the time. It took several incidents, including Bobby’s, to make technical divers come to a consensus on how to label Nitrox tanks. If he had taken a different approach to marking his stage bottles, there’s a strong likelihood that he would be alive today.
The best method for labeling stage bottles that I can think of is the one adopted by the WKPP and other people. It’s simple and allows for both self-checking and buddy verification. There are two components of this stage bottle marking technique.
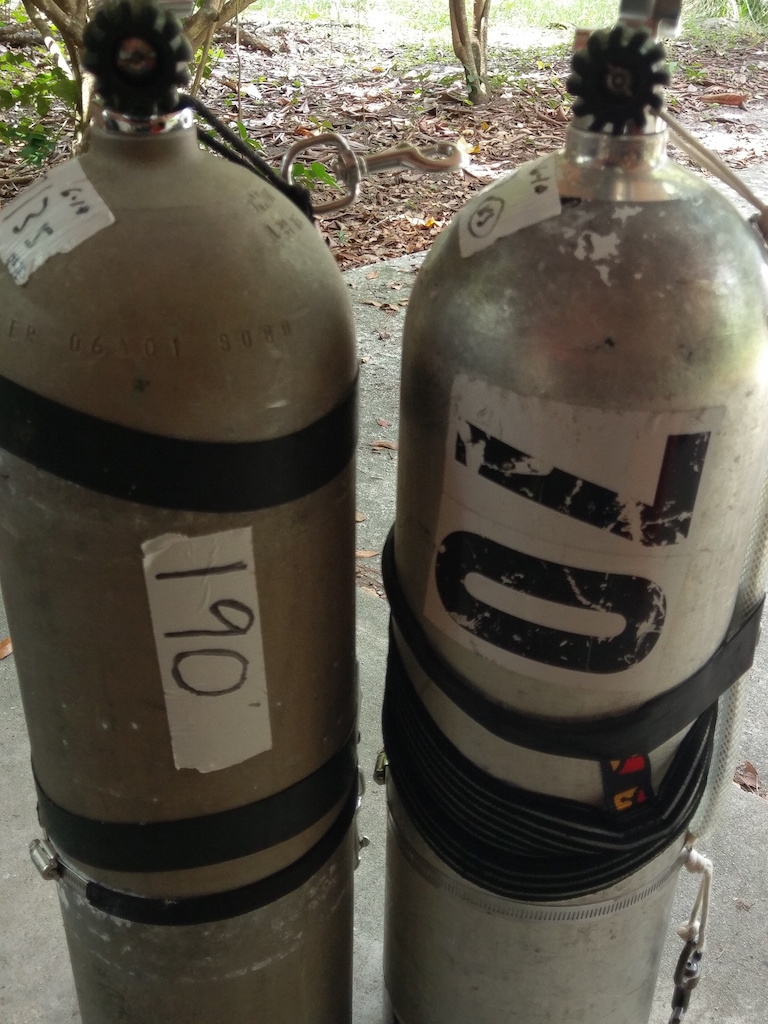
The first component is to place in a location that the diver can read, on the cylinder neck, a piece of tape with the cylinder gas analysis in big numbers. You should also put the date of the analysis, your initials, and the MOD on the tape. I typically carry the gas analysis out to the 1/10th of a percent, but given that our oxygen sensors are only good to within ± 1%, that may be overkill.
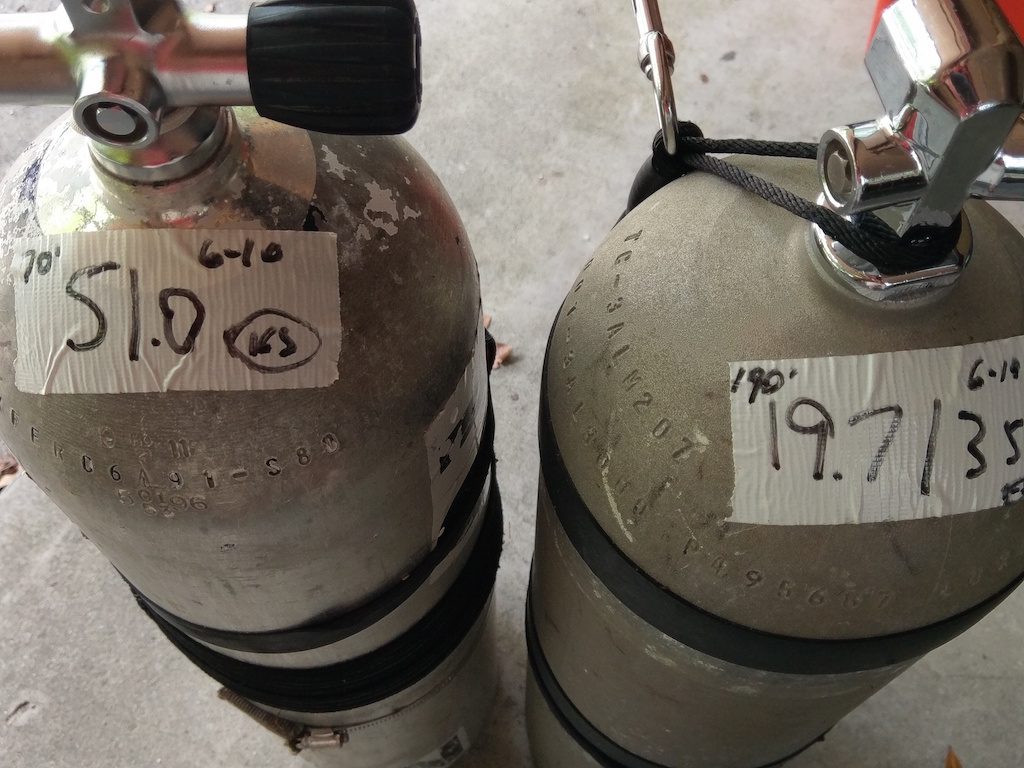
The second step is to place a label with the MOD on either side of the cylinder, horizontally in such a fashion that everyone on the team can read it. There should be nothing except the MOD on these labels, the only exception is pure oxygen, which should simply read “oxygen” so that it is not misread at an inappropriate depth, such as 120’.
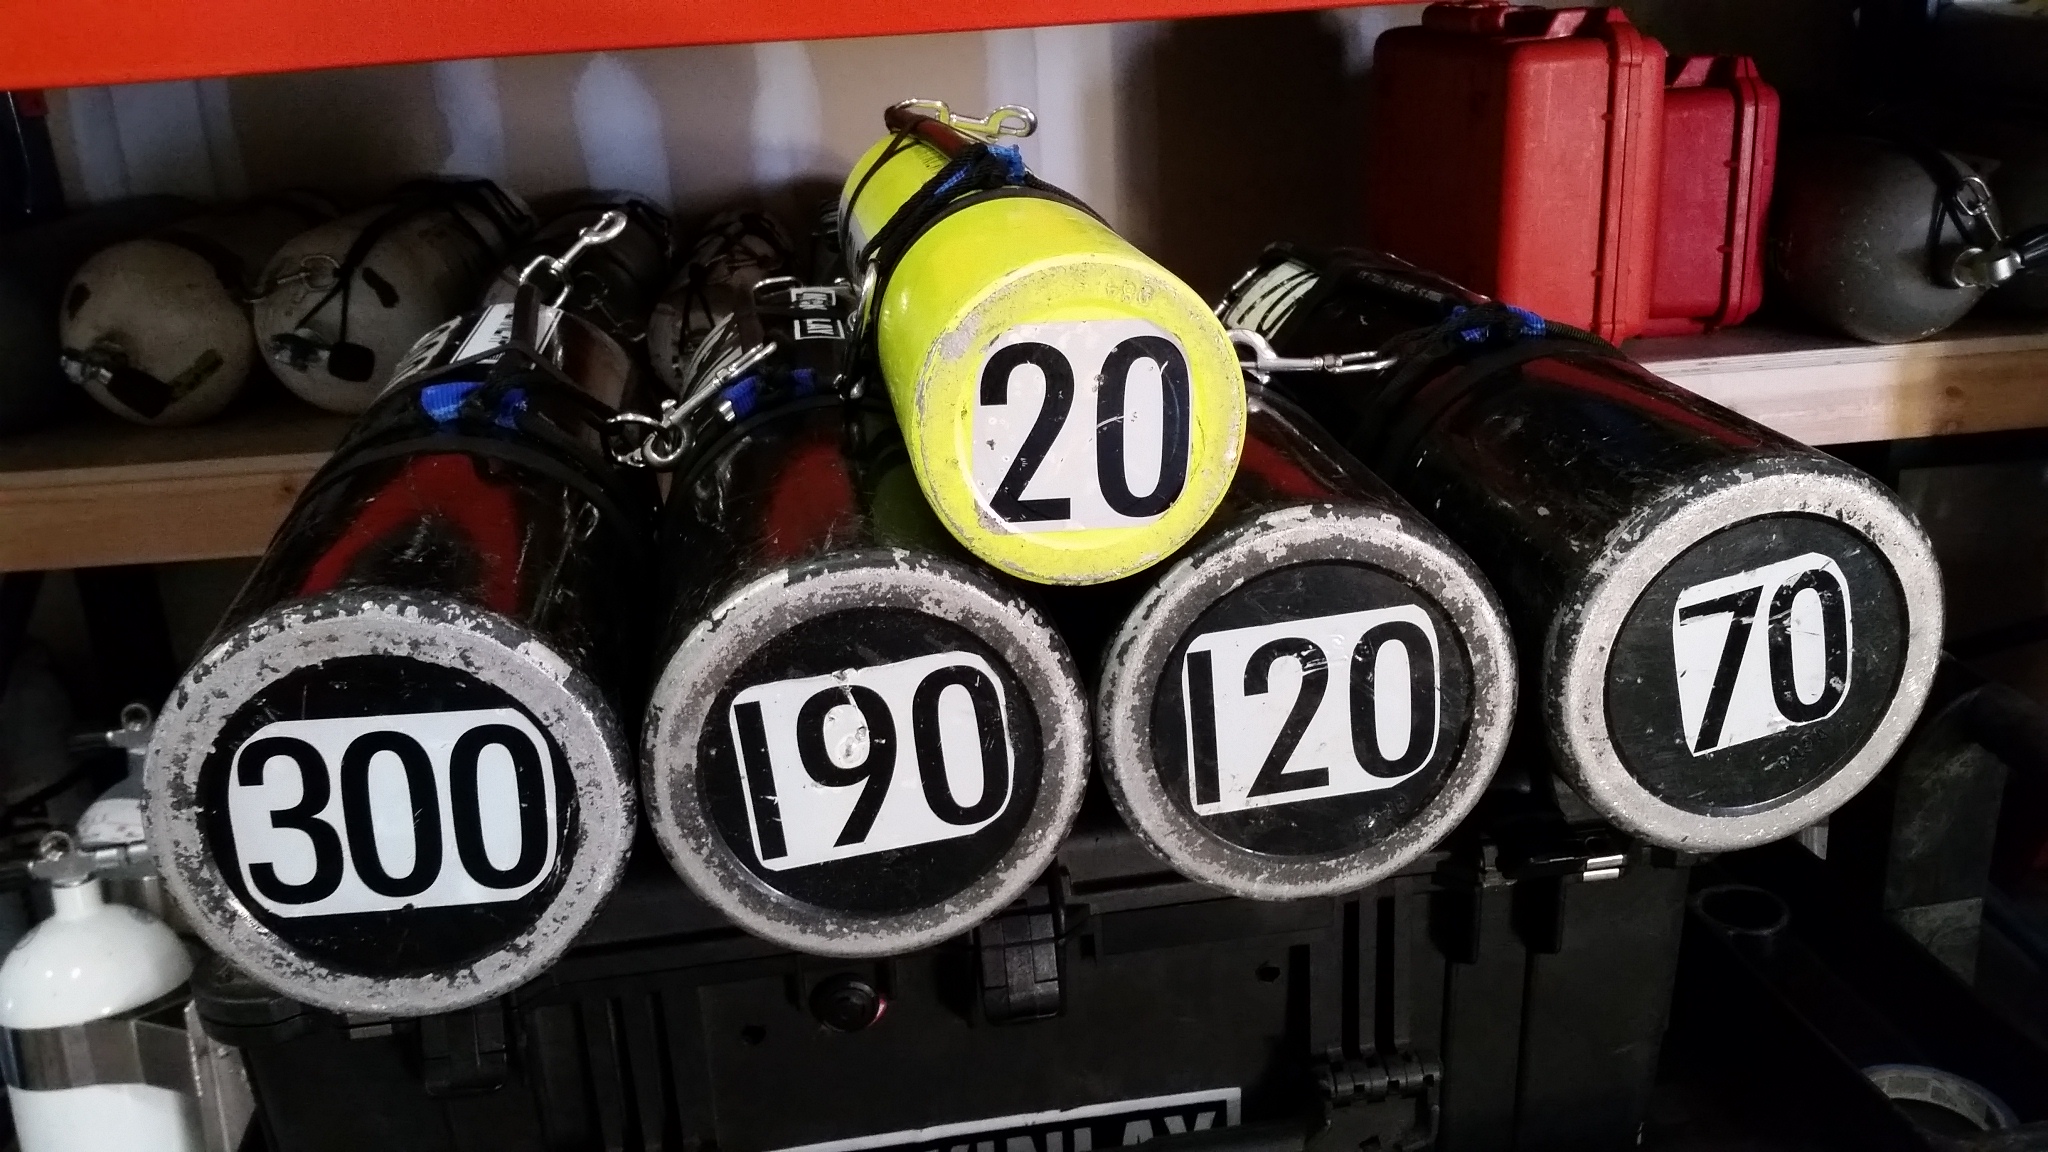
Most divers using this strategy will find themselves dedicating a few cylinders to certain depths, and attaching permanent MOD stickers. The most common depths include 190’ (either 18/45 or 21/35), 120’ (usually 30/30 or 32%), 70’ (50%) and Oxygen, and permanent labels can be found for those depths at many dive shops. If you decide not to dedicate a cylinder for a specific depth, you should at the very least use a piece of duct tape and label the MOD for the gas that is in the cylinder in this fashion.
Remember, the key with the MOD marking is that everyone on your dive team should be able to visually see what gas you are breathing quickly, so both sides of the bottle need to be labeled. Some people have recently adopted the practice of placing a third MOD label on the bottom of the cylinder in such a manner that a diver following behind can also see the MOD.
Jonathan
I was introduced to Jonathan Gol in 1997, and he and I did about a dozen dives between 1998 and 2000. In November 2001, after recovering from a prolonged viral infection, he decided to go on a dive in Jackson Blue Spring. When he got to his 20’ decompression stop, he switched to an aluminum 40 that he normally kept filled with oxygen for decompression, and he was dead within a minute.
Although we do not know for sure what events transpired before he died, we have a theory and it is a pretty good theory. He made two fatal mistakes that cost him his life and what happened is a lesson that we should all learn from.
His first fatal mistake happened a couple of months before his death. Jonathan was a home blender and usually had several helium bottles at his house that he rented from a local gas supplier. When he became sick with the viral infection, he decided he did not want to pay the monthly rental on the helium cylinders and he used his Haskel to fill an aluminum 40 with the helium from those bottles before returning them.
His second fatal mistake happened the day he died. Once he was medically cleared to dive, he packed up his truck and drove the ten hours from Houston to Marianna. In his haste, he did not analyze the tank that should have had pure oxygen in it. The cylinder label said “100%,” but in reality, it was 100% helium and not oxygen. Being anoxic, it was incapable of supporting life. He died as a result.
What should Jonathan have done differently?
The first thing that he should have done differently was not to fill a tank dedicated to one gas with something else. Once a cylinder is dedicated to a gas, i.e. it is labeled permanently for that gas, you should NEVER fill it with anything else. If it’s an oxygen bottle, it should only get oxygen. Period. Ditto for 50% (70’), 32% (120’), etc.
And then the most important thing he should have done differently was that he should have VERIFIED the contents of the gas before he put a regulator on the tank.
A lot of people dislike analyzing their cylinders at the dive site because of the effort it takes to do it correctly, but do you see what I wrote in the paragraph above? I used the word VERIFIED, not “analyzed.”
You should analyze your tanks whenever you fill them at the shop, and label them as I described in the section about Bobby. However, you only need to VERIFY them whenever you are about to put a regulator on them.
The difference is simple: to properly analyze a tank you need to use a flow meter and calibrate your sensor with a known gas (typically air). These things take a little bit of time, and most of us “normal humans” dislike the extra time it takes to do a proper gas analysis in the field and so we won’t do it.
However, VERIFYING the contents is very quick and can be as easy as holding the sensor face into the flow. The oxygen reading will likely be off by as much as 3%, but the purpose of this step is to confirm that the gas is what you are expecting and not wildly off the mark. It only takes a few seconds to do, and if the gas is wildly off then you can do a more time consuming analysis to find out exactly what is in those cylinders.
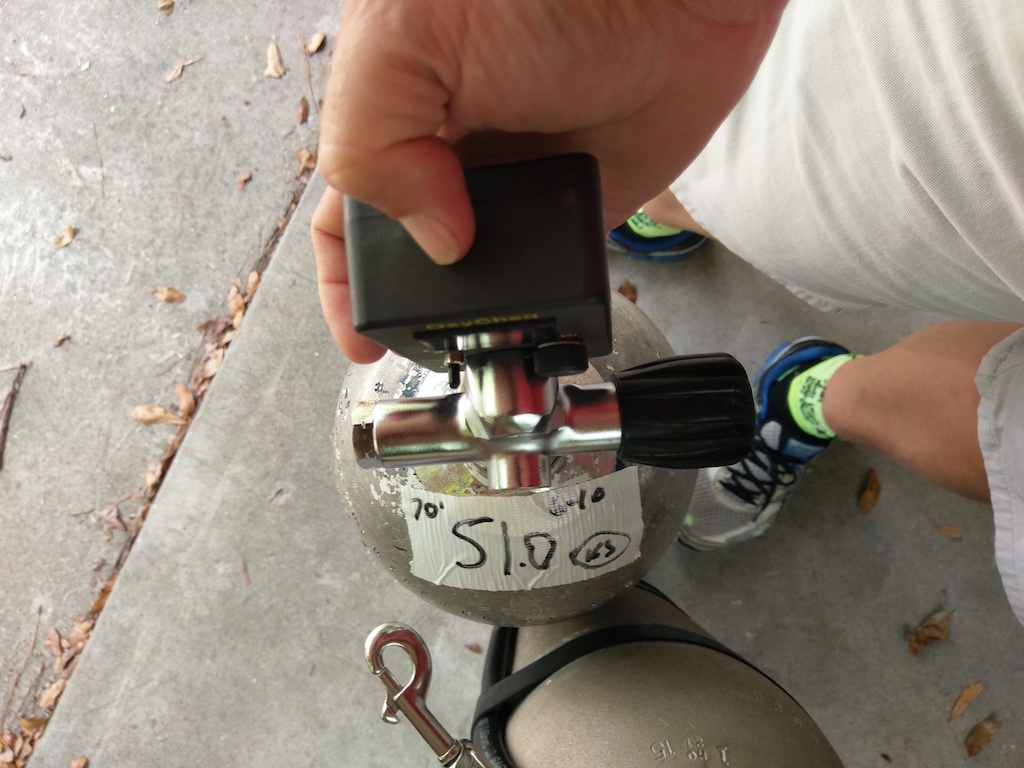
If Jonathan had done this simple check, he would have quickly seen that his “oxygen” bottle did not have oxygen in it. This step would have only cost him 10 seconds, rather than the cost he paid by skipping it.
Sadly, Jonathan’s story was not unique, and as recently as 2013 there was an oxygen toxicity evet that took a divers life under a similar set of circumstances (dedicated bottle, no verification).
You don’t always know what you think you know…
In 2013 I found myself teaching a decompression procedures course to a couple of guys that worked at a scientific program which had a fill station. The program had several sets of doubles for use in pool training, and they each checked out a set of doubles from their dive locker. In their minds, because their fill station was incapable of pumping anything but air, and those doubles were reserved for pool use only, they should only have had air. Nothing else.
As they were assembling the gear for the first dive of the course, I asked them to analyze their tanks. They both laughed and said “why are you making us do this, these have air!”
Travis went first. He put my analyzer on his set of doubles, and it quickly read 28%. He told me, “I think something’s wrong with your analyzer, it’s reading 28%!”
I verified the analyzer on a set of my tanks, and handed it back to him. “Check it again,” I said, and once again, it read 28%.
We then handed the analyzer over to Ian, and his doubles read 29%.
“There’s no way!” he said, but he analyzed them again and got the same reading a second time.
A week later the mystery was solved. It turns out that someone else from the same program had checked out multiple sets of doubles, and filled at a local dive shop with nitrox so they could go cave diving. Figuring that the tanks would never be used except in the pool, the culprit failed to label them.
What if someone else made the same assumption as Travis and Ian and checked out a set of doubles to do a deep wreck dive, such as the Hydroatlantic (175’ to the sand)? That could have gone bad really quick.
The lesson here is that just because you think you know what is in your tanks and what you are filling them with, that does not mean you are correct and you still need to analyze and verify your tanks.
Even when getting fills from a “dedicated nitrox fill station,” you should take the time to analyze your tanks. I cannot believe how many times I’ve seen people say “I don’t need to analyze my tanks, I got them filled at <insert dive shop name here> and they always fill 32%!” and that kind of laziness needs to stop.
A few simple rules
My friend is a very experienced diver, and he knew better than to dive a tank that hadn’t been properly analyzed. However, we are all only human and sometimes we get a little complacent and skip our simple checks. But when playing around with gasses and diving, we need to keep on our toes. In summary, here are a few simple rules to follow:
1. Always analyze and label your cylinders when you get them filled. Label them with both the gas content on the neck in a place easily visible by the diver, and MOD on the sides in such a way that everyone on the dive team can see it.
2. Never fill a dedicated cylinder with something other than the correct gas. If you do, it’s no longer a dedicated cylinder.
3. Always VERIFY the contents of your cylinders before putting a regulator on it. This step takes only a few seconds, and can save you your life.